
How to Create Bins in Tableau
How to Create Bins in Tableau?
Follow the steps given below to create bins in your Tableau worksheet:
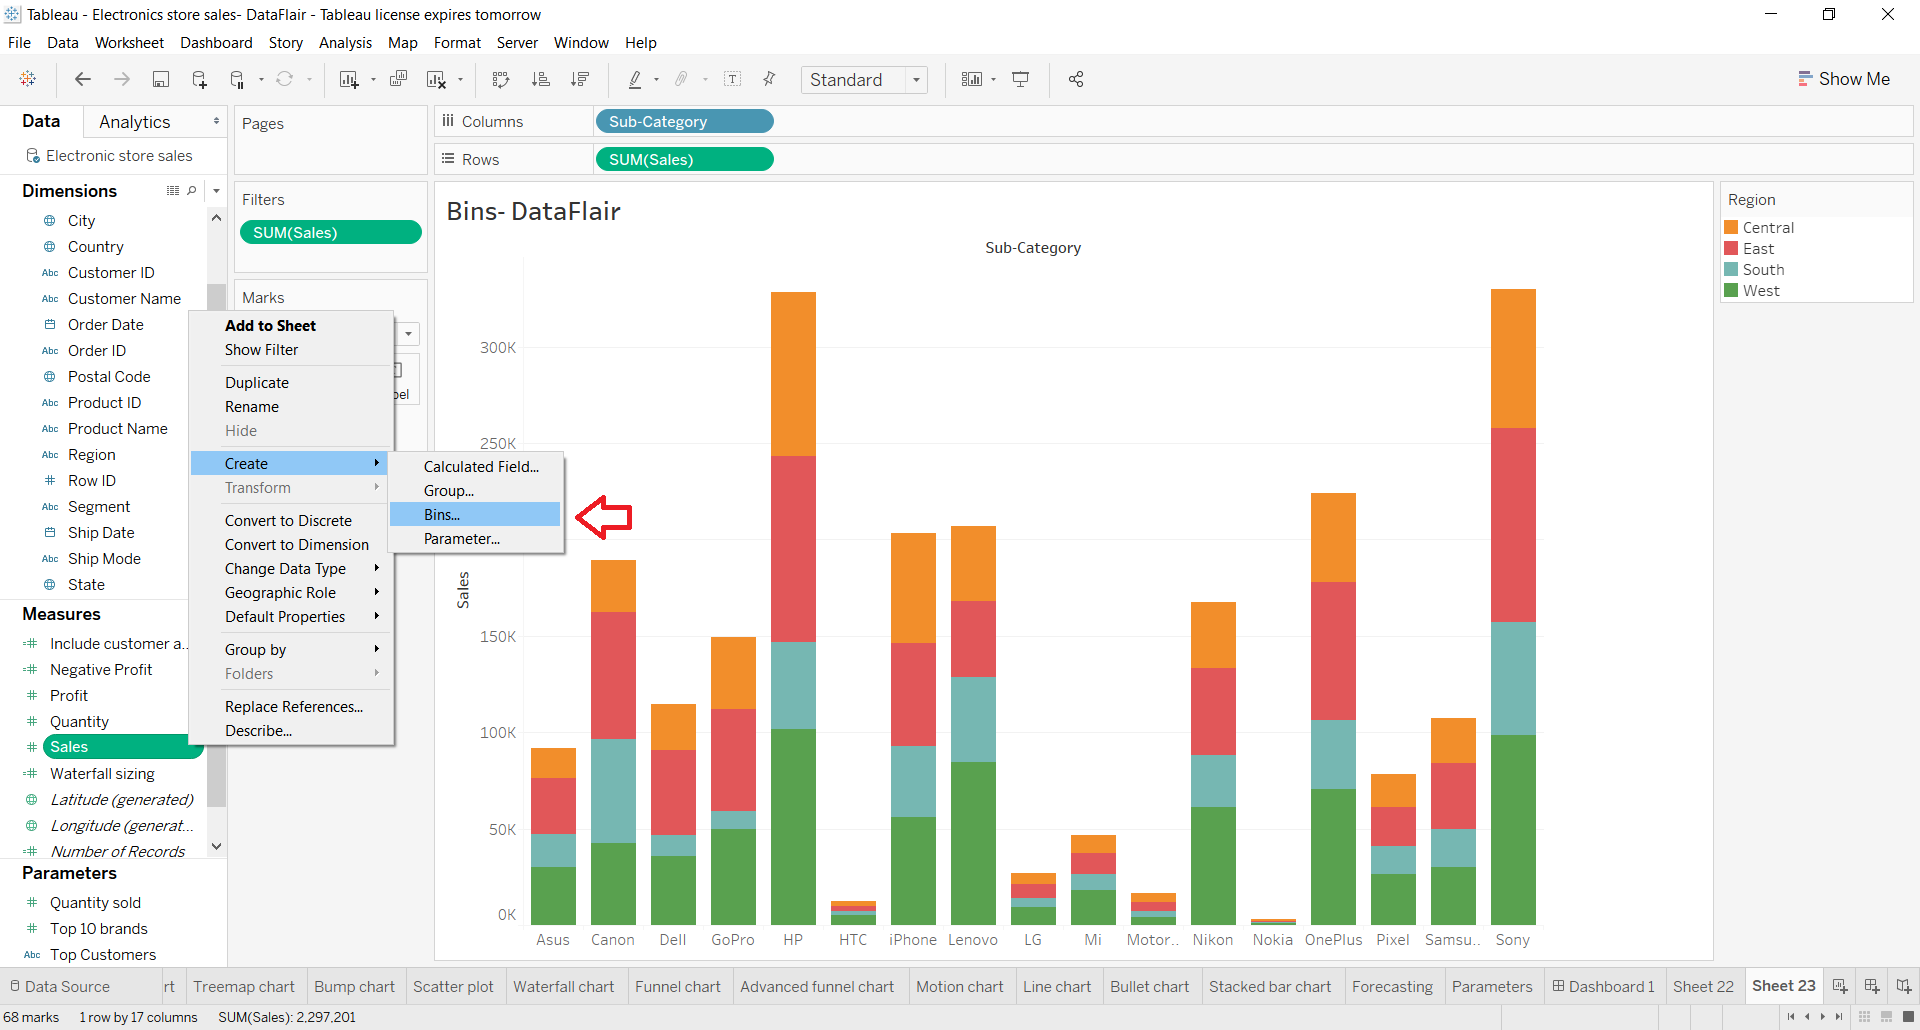
Step 1: To create a bin on a Tableau worksheet, right-click on the field name (measure or dimension) from where we’ll use data for the bin. Then, select Create and click on Bins…
As you can see in the screenshot below, we are creating a bin for our measure field Sales.
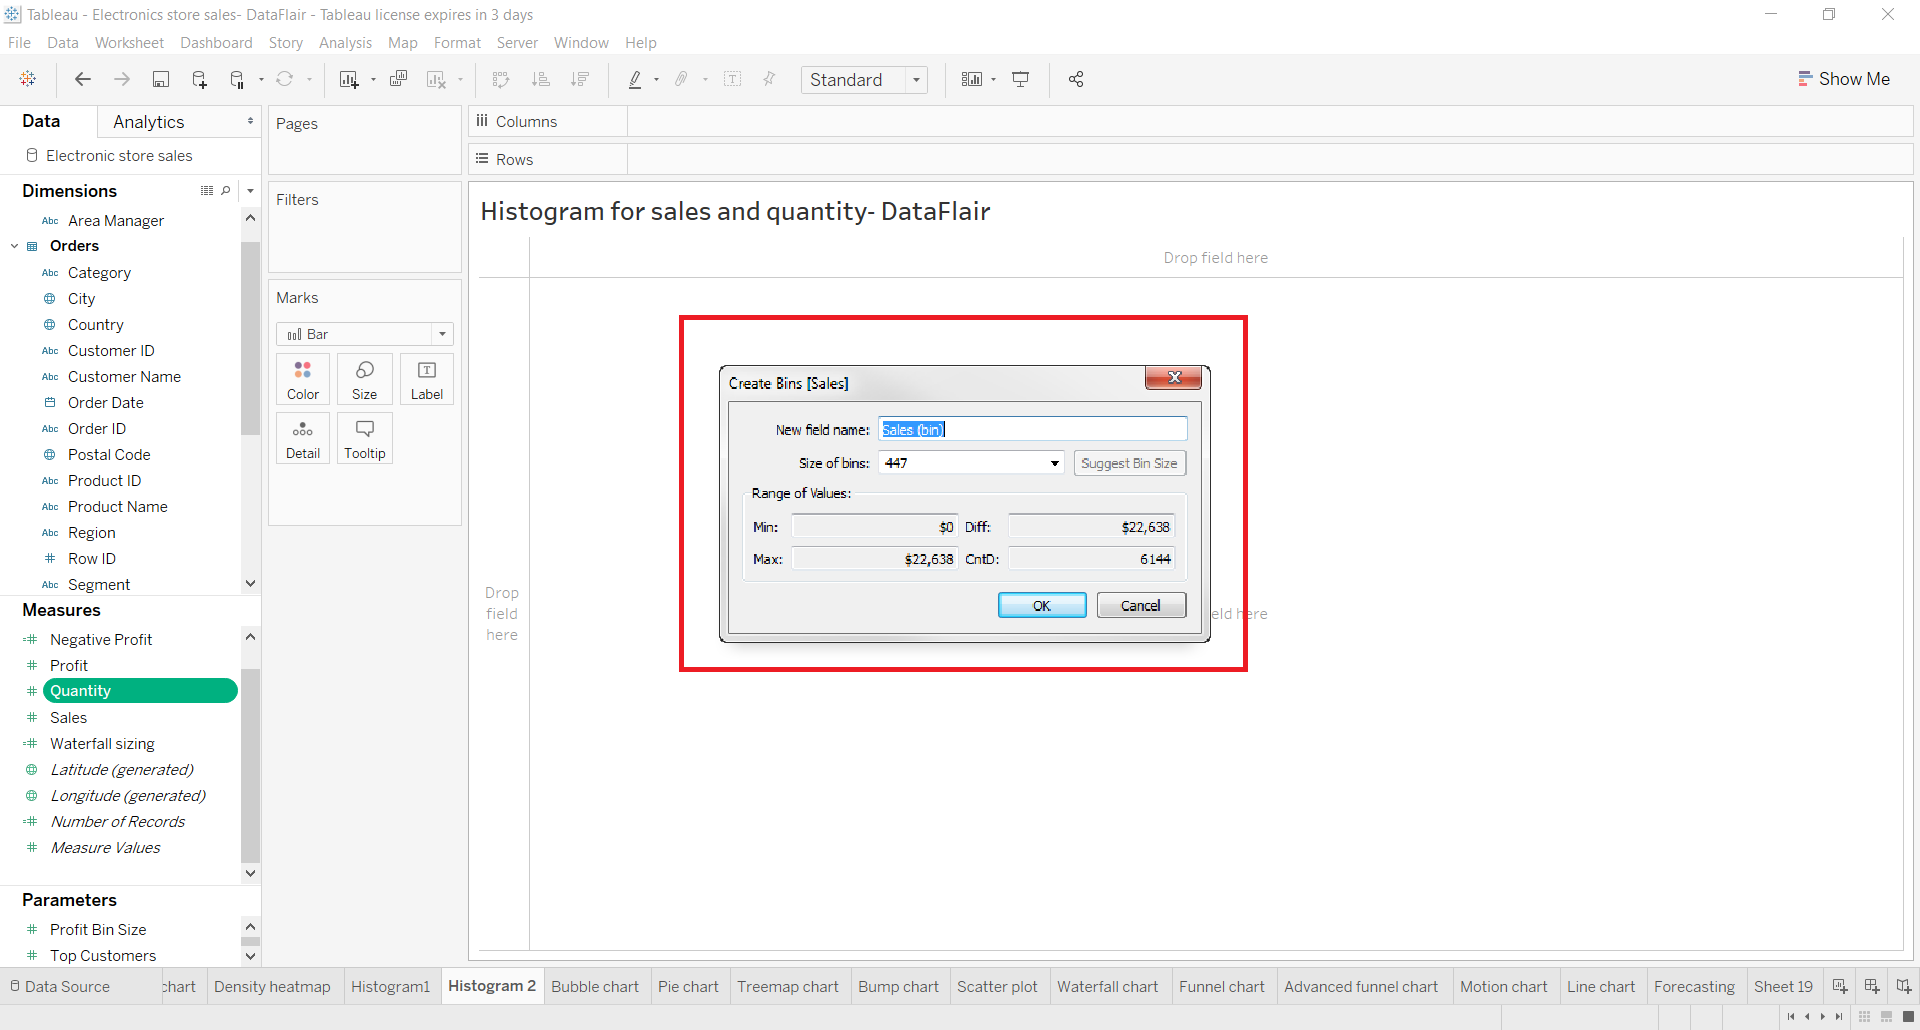
This will open a Create bins dialog box from where we can enter details and configure our bin. We will learn more about this in Step 2.

Step 2: From the Create Bins dialog box, we can set different parameters for the bin we wish to create. In the beginning, we are asked to enter a name for the new (bin) field. Next, we get to set the size of the bin. You can also click on the “Suggest Bin Size” button to get a bin size suggestion from Tableau for your selected data set.
In addition to this, we can set parameters to set a Range of Values such as Minimum value, Maximum value, Difference, and CntD. Click on OK once you enter all the required parameters for a bin.

Get to Know – How to Create Parameters in Tableau
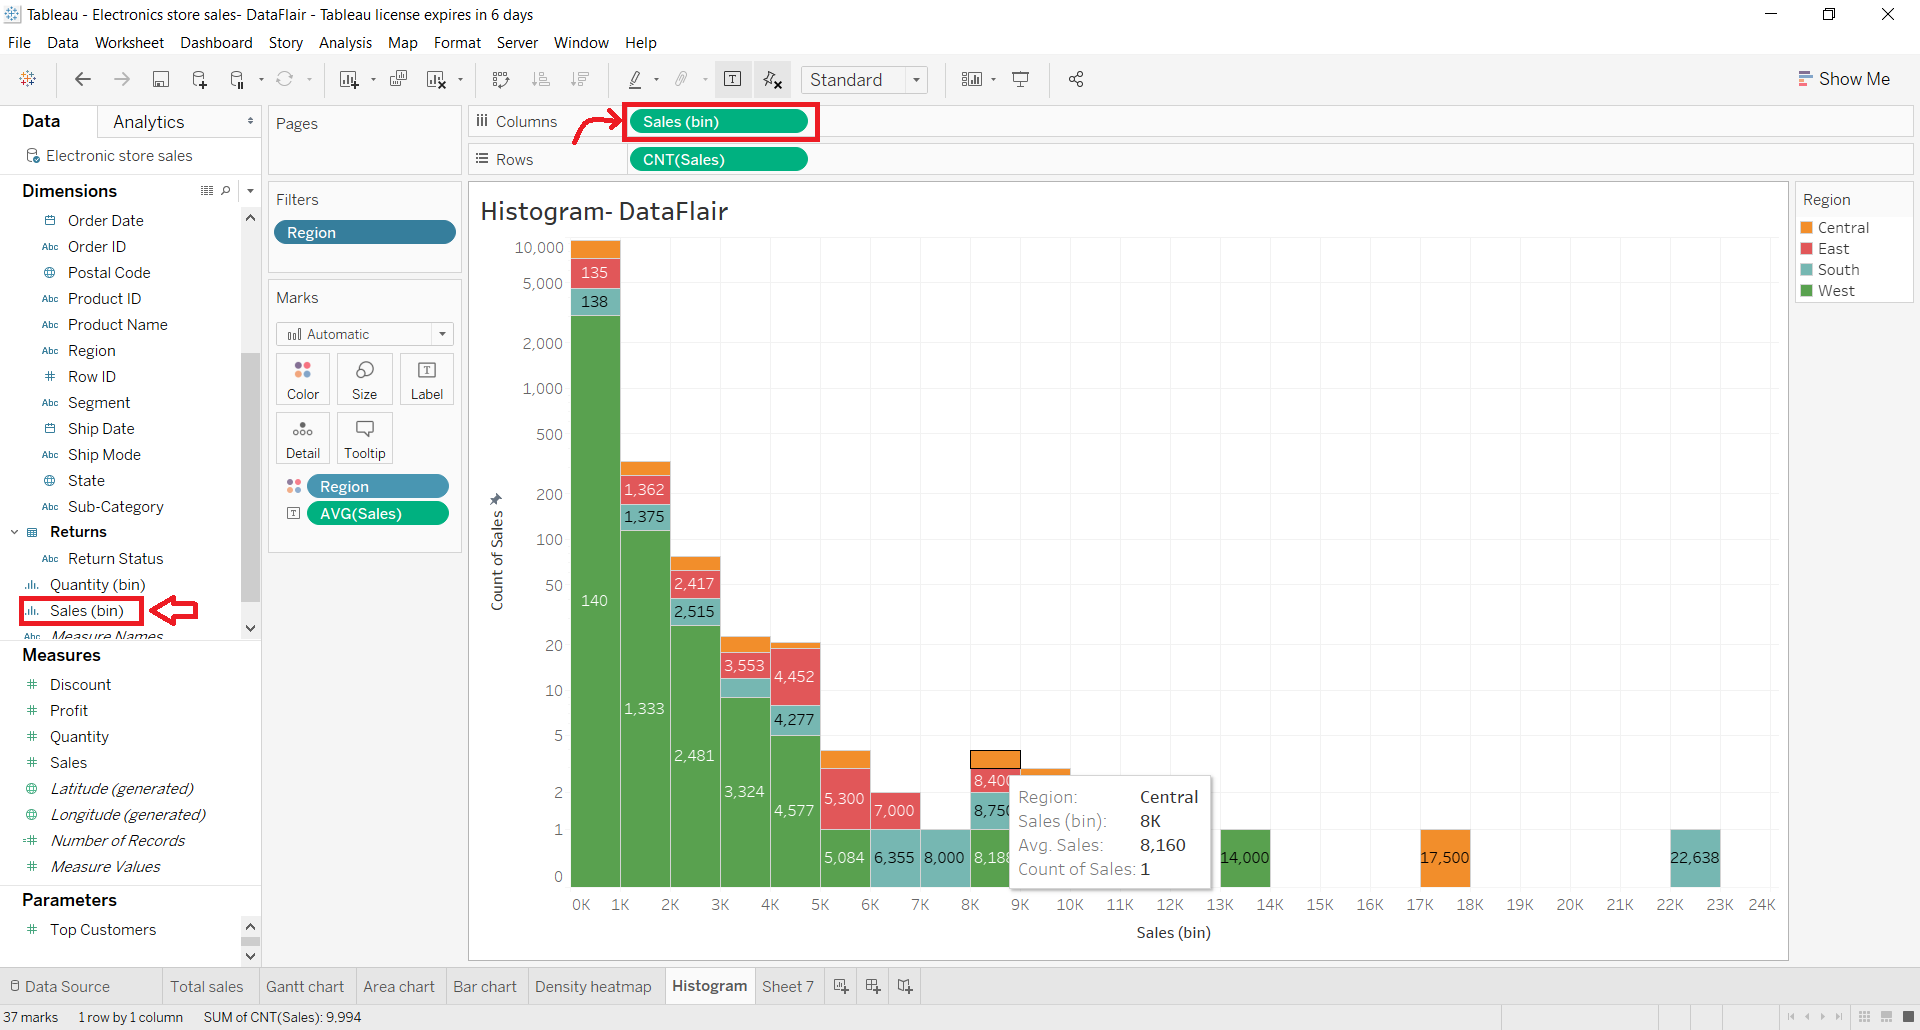
Step 3: As you can see, the bin that we just created with the name Sales (bin) is present under the Data pane in the list of fields. We can use this bin field in visualization by simply dragging and dropping it on the Columns or Rows section.

As we can see in the screenshot above, the histogram has a bin field on the x-axis. The histogram is so created that it drops values of sales per region in bins of size 1000 or 1K. That means, all the sales values that fall under 0 to 1000 range will occupy the 0K to 1K bin. Those values that fall between greater than 1K to 2K range fall in the next bin and so on. In this way, the entire sales data is segregated or distributed in a range.
We can also edit an already existing Tableau bin by right-clicking on the bin name and selecting the Edit option. You can change any bin parameter from this dialog box as per your requirement.


Comments
Post a Comment